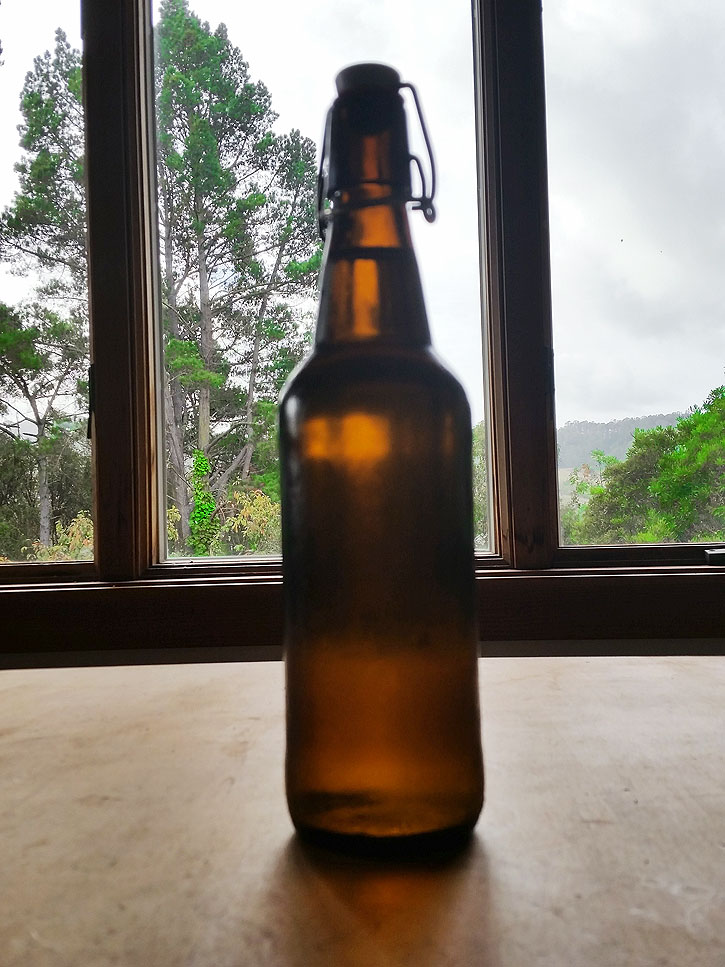
Ginger beer in flip-top bottle.
I love ginger beer — “vigorous reviving stuff with an edge to it,” in the judgment of Kingsley Amis. But the commercial kinds can be expensive. What’s more, home-made ginger beer is tastier. It’s wholesome and easy to make. Let’s make some.
What you need
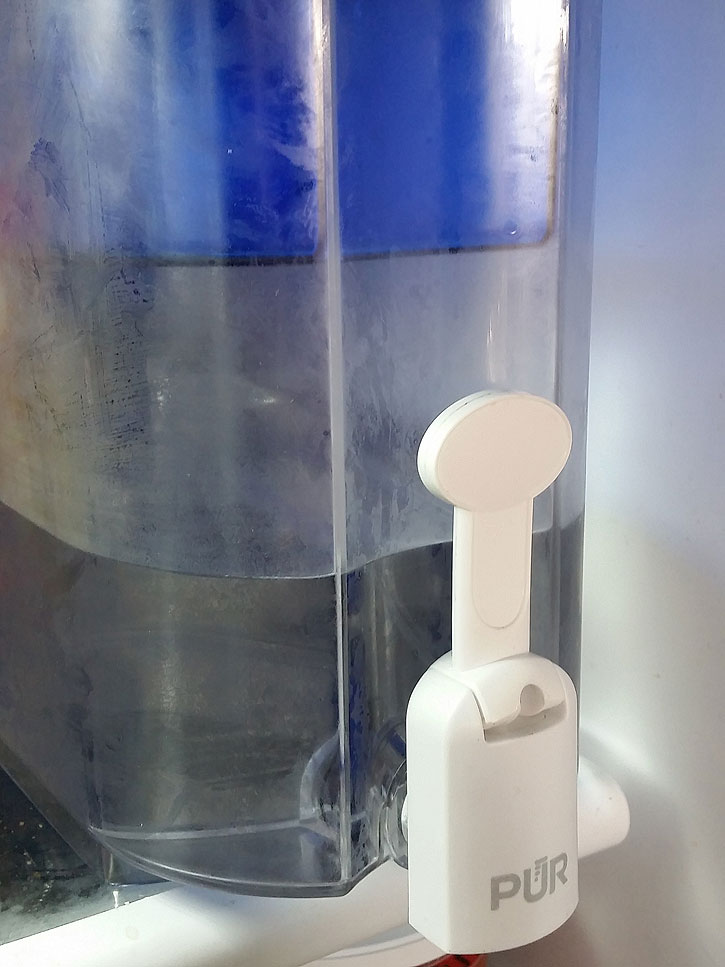
Something like this Pur water purifier, which lives in the refrigerator, helps to ensure clean water that will not impede fermentation.
- Ginger (organic, or at least not irradiated)
- Sugar
- Water (chlorine removed)
- A fermentation starter
Optional
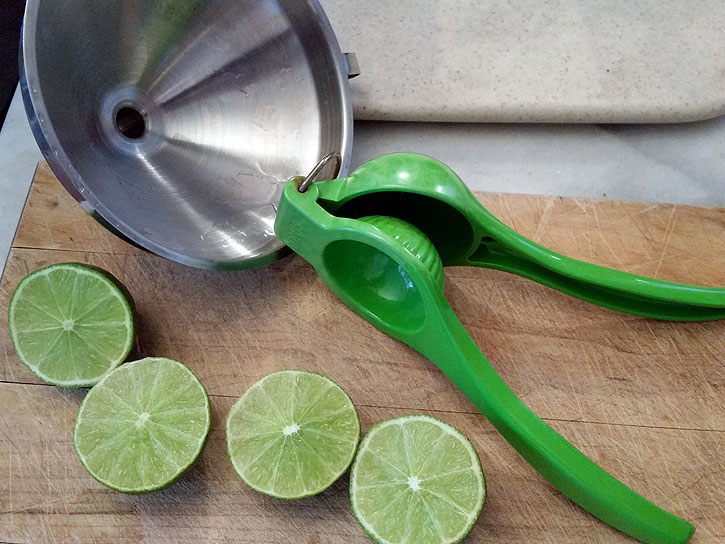
Halved limes ready for juicing. (I currently have three lime trees and am thinking of adding a couple more since I use limes often.) I got the squeezer at the neighborhood store; a larger yellow one is good for lemons. I purchased a set of three stainless steel funnels with a strainer from an Australian manufacturer. I use them all the time in making bitters and other things, and am happy with them.
- Limes (my preference) or lemons
- Spices (plenty of room for experimentation here)
About the ingredients
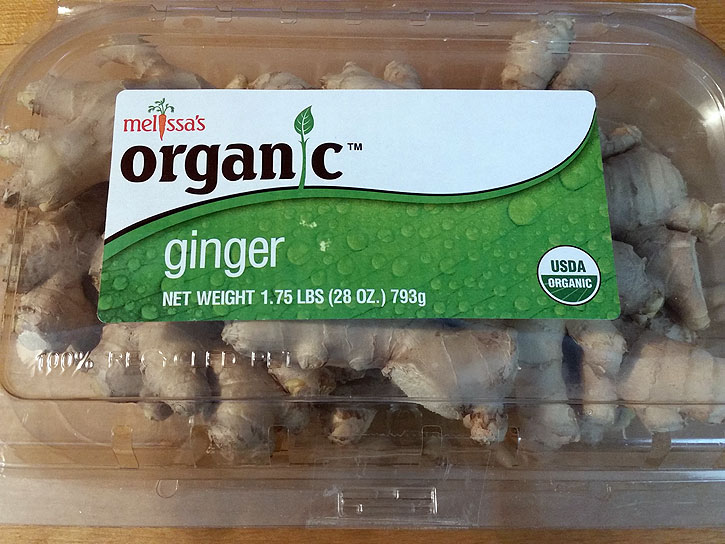
Organic ginger from CostCo.
- CostCo sells a characteristically giant package of organic ginger at a good price. You want organic because supermarket ginger might have been irradiated, killing all the bacteria. Ginger beer is a living thing (and that’s good for your gut). Hard to get good fermentation if all life has been destroyed.
- I have generally just used granulated white cane sugar, but I think you could use pretty much any kind of sugar, depending on your flavor and ingredient preferences, and the state of your pantry. (I will probably try turbinado sugar next time.)
- Chlorinated water is another thing that is harmful to bacteria. If you use tap water you can either let it sit for a while or boil it. Filtered water is probably best. Here in the East Bay of the San Francisco Bay Area we have pretty good water (except sometimes during extreme drought), but I still find the filtered water tastes better.
The starters
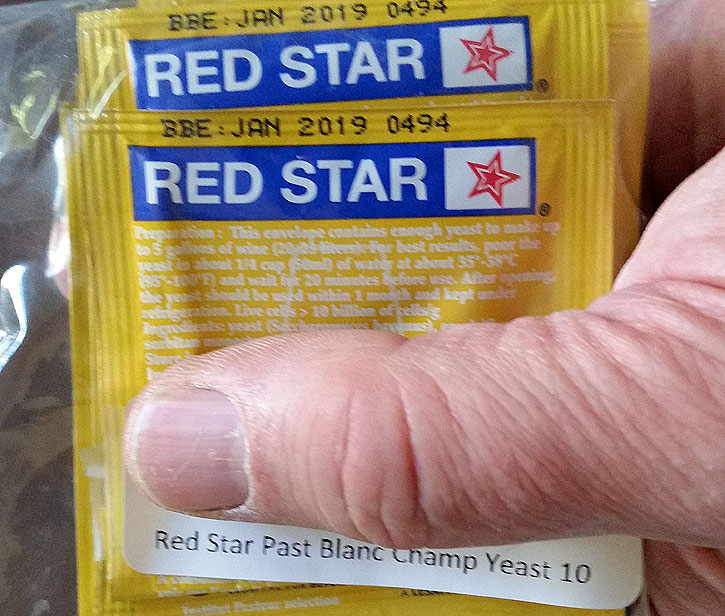
Champagne yeast is a standardized starter. The alternative is wild fermentation. In this post I compare the two.
Ginger beer is essentially fermented ginger syrup. Fermentation can be divided into two types: wild fermentation and cultured fermentation. The former depends on bacteria present in the ingredients and the environment. Cultured fermentation seeks to get better control over the process through the application of standardized yeasts. (My biochemist dad developed and sold frozen coagulated starter cultures for use in making cheese and other products.)
To make ginger beer you have to add a starter to the watery ginger syrup in order to kickstart the fermentation process. You could use things like water kefir, kombucha, or whey as wild cultures, but I have always relied on a little guy who goes by the endearing name of “ginger bug.” It just seems the easiest and most natural way of going about it. I’ve also made ginger beer with a standardized culture, namely champagne yeast. What are the differences, and which is better? As a test, I made one gallon of each. I will describe the process and give my evaluation.
The ginger bug
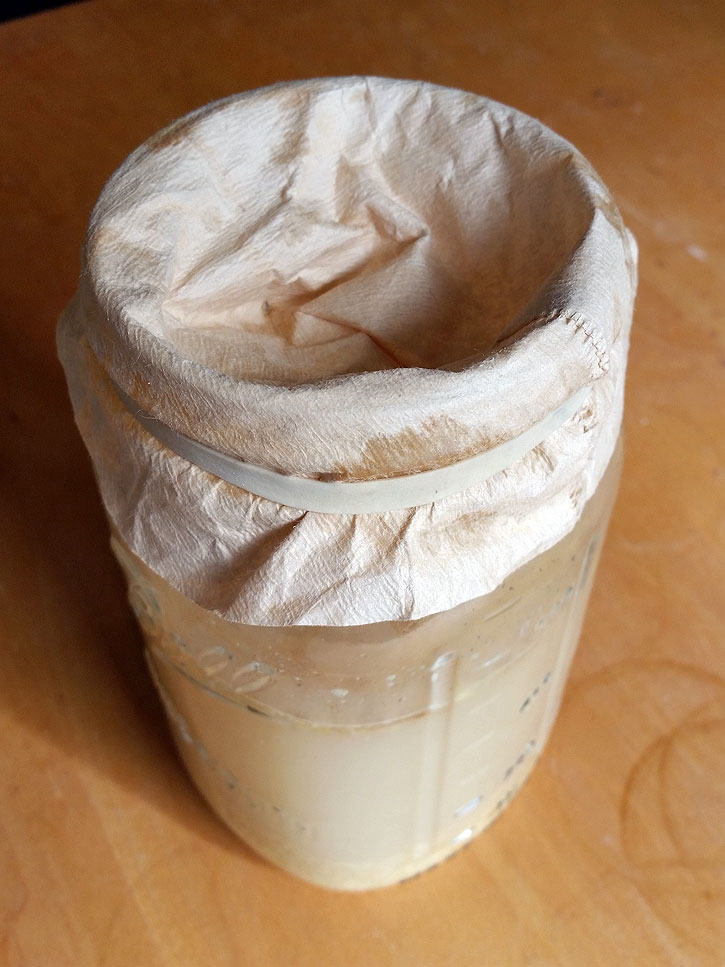
Ginger bug.
A ginger bug is a simple and a complex thing. It begins as a more concentrated mixture of ginger, sugar, and water than will be used in the ginger beer itself. Grate or slice some ginger into a canning jar. Some remove the skin, but I leave it: what’s the point of removing it? Add sugar and stir. I use about two or three tablespoons each of ginger and sugar in one and a half or two cups of water. Exact quantities are not critical. Bacteria adore this stuff: leave it out on the counter, feed it daily with a bit more ginger and sugar, and in a few days it will be colonized and start to bubble. The exact amount of time depends on the season and local conditions. It could be ready in two or three days, or it could take a week.
The beneficial bacteria go to town on the ginger and sugar mixture so enthusiastically that you don’t have to worry about any bad little buggers elbowing in, as they will quickly get crowded out. A permeable cover lets the beneficial bacteria into the jar but keep insects out (maggots would be a serious turn-off, I imagine, notwithstanding Sandor Katz, who says they can just be scooped out). I put a coffee filter over the jar, held with a rubber band. Sometimes I have poked a tiny hole or two in the filter with a push pin, but this is kind of silly and not necessary. You could also use a cheesecloth cover. In fact, the bacteria will probably find their way in almost no matter what cover you use.
The bacteria break down the sugar into lactic acid and carbon dioxide. When we get to the ginger beer stage the CO2 will give carbonation, that welcome fizz. The process will ultimately reduce the sweetness from the sugar, converting it to (a small amount of) alcohol.
The ginger bug can, I understand, also be used as a base for home-made root beers and sodas. I haven’t tried this.
Feeding the bug
To keep the bug alive for your next batch of ginger beer you have to feed it. (Of course, you could just whip up a new batch, but that would involve waiting.) You don’t want to starve the bacteria, so you add maybe one or two tablespoons of ginger and the same amount of sugar every day. I try to stir the bug and feed it once or twice a day. After a week or so, when it is bubbling nicely, starts to smell fermented, has ginger floating on the top, and begins to show a white residue on the bottom of the jar, you’re ready to brew.
If you want to hold your bug a while before brewing and reduce the fuss, you can stick it in the refrigerator. This obviates the need for daily feeding, though you should probably add a teaspoon of ginger and a teaspoon of sugar about once a week. In this way you can keep the book in the refrigerator indefinitely
Preparing the brew
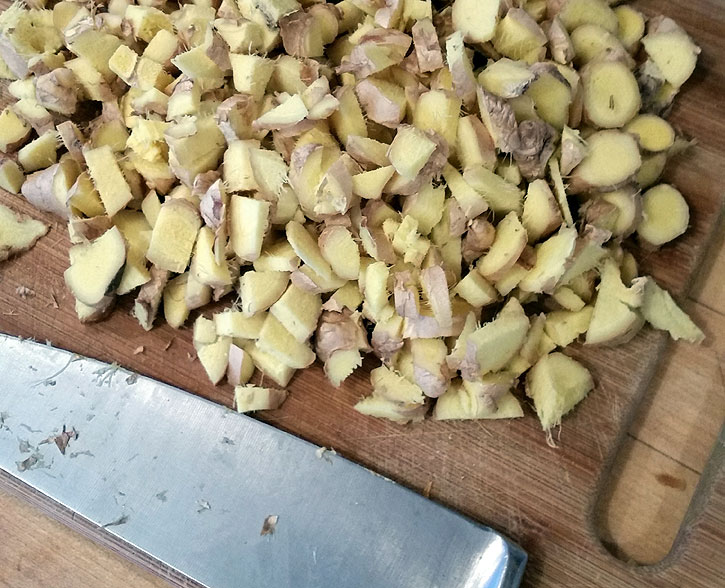
Chopped ginger. This will get more finely ground in a bit.
To prepare the ginger concoction, I follow the procedure described in Sandor Ellix Katz’s The Art of Fermentation, in which half of the liquid is reserved and added later to speed cooling. This just saves time. I like my ginger beer spicy, and I tend to use about a foot of ginger root per two gallons of water. Some people might want to start with something like a third that amount and work up to taste.
So if I’m making two gallons of ginger beer I will add the ginger to one gallon of water, reserving the other gallon. My technique at this point is to chop the ginger and then blend the brew with an immersion blender. (Grating a lot of ginger is a real pain.) I have a Breville immersion blender that I love. It requires much less clean-up than standard blenders or mixers. You just stick this thing in a bowl, push a button, and go.
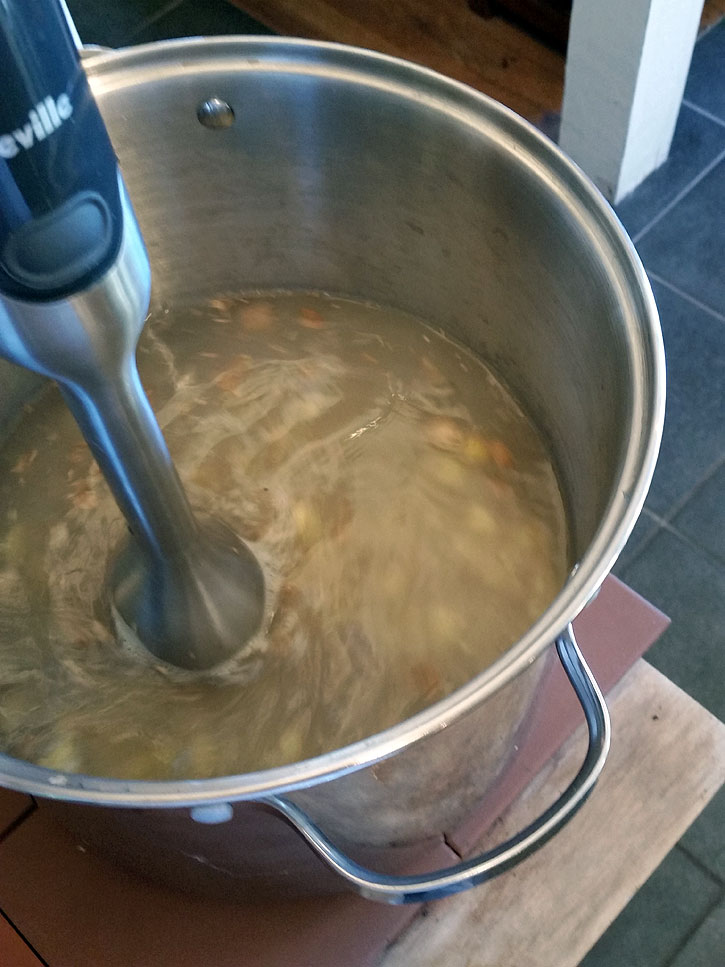
Immersion blending the ginger brew.
Bring the water to a boil, then gently simmer for 15–20 minutes. (This length of time works; I haven’t tested others.) Add sugar and stir until dissolved. I use about a cup and a half per gallon of finished ginger beer, but some people use twice that amount. Now add the other gallon of water to cool the brew. After adding the cool water the result will probably still be too warm for your bug (especially if you don’t transfer to a new vessel), so cover and wait until it’s about body temperature. (I use the baby milk formula method of dropping a little on the back of my hand to judge whether it has cooled enough.)
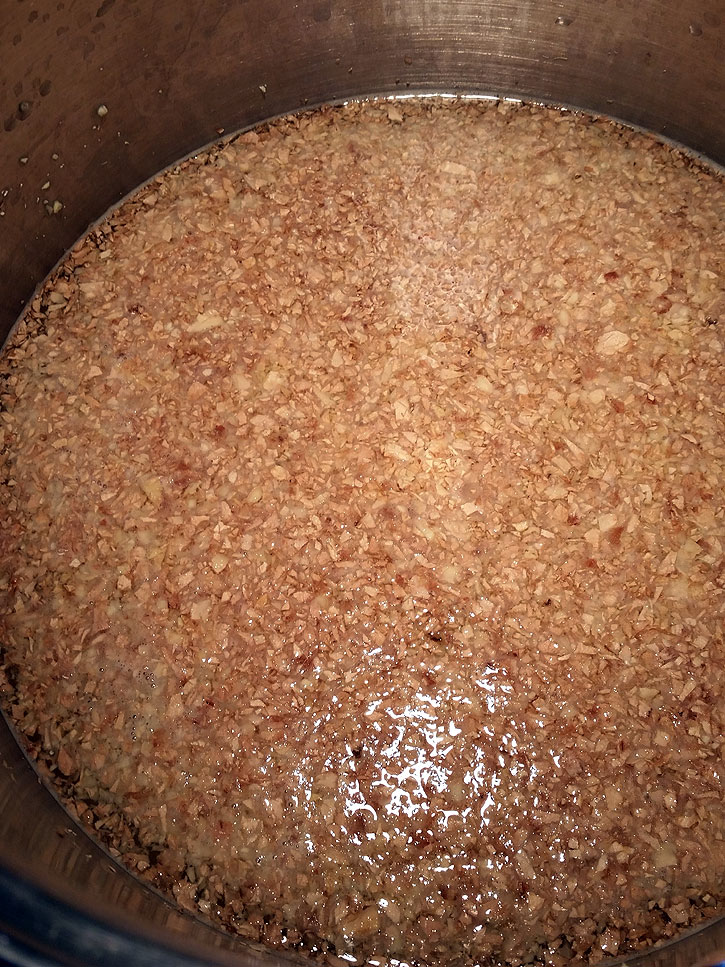
Ginger brew after application of immersion blender.
Adding the Starter
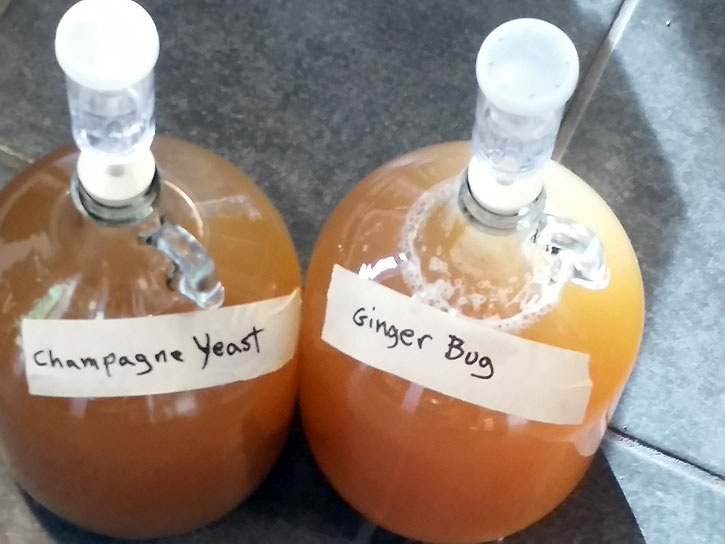
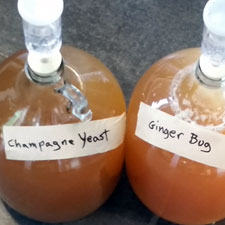
Carboys of ginger brew started with champagne yeast and with ginger bug.
Okay, our brew has cooled to body temperature, so now it’s time to strain the mixture and add the starter. I strained through a sieve into another large pot, then strained again in filling the two one-gallon carboys. I used to always use carboys with airlocks to prevent glass explosions from the pressure of fermentation. They are handy to have, and they work. But increasingly I just let the brew ferment in the same vessel it was mixed in, covered with a kitchen towel. Once the brew is bubbling vigorously (from a few hours to a few days, depending mainly on the potency of the starter), it can be transferred directly to bottles.
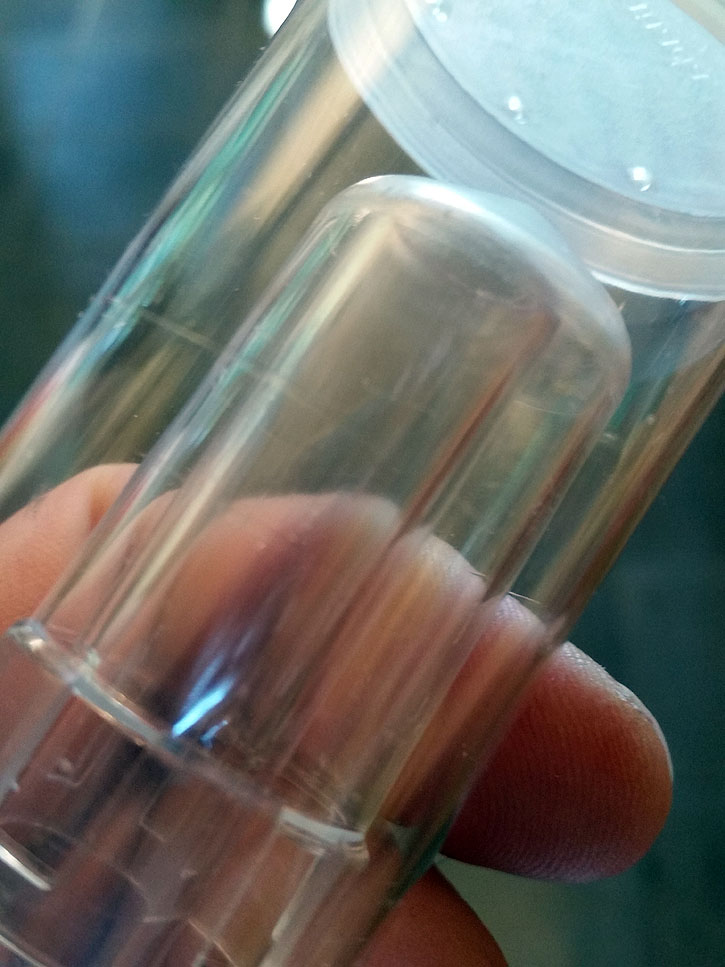
Airlocks allow carbonation to escape while preventing undesirables from entering. Fill to line with water.
For my starter experiment, I brewed one gallon using champagne yeast and another gallon with the ginger bug. What I found is that the champagne yeast fermented the brew more quickly, and it produced more sediment (I’m not sure to what extent this might be a dosage issue).
Tasters agreed unanimously that the ginger bug produced a drink with a fuller and more pleasing taste.
The bug will not tolerate too much alcohol, and it caps off at about 4 percent ABV (I think), while champagne yeast can survive up to more than twice that level of alcohol. In other words, the yeast version is potentially much more alcoholic. As a test, I let some of the yeasted ginger beer go for a while, and it became pretty alcoholic and remarkably dry, as the yeast efficiently reduced the sugar. The result is a sort of ginger country wine that is quite sharp and not to my taste.
You probably won’t get anywhere near the bug’s ABV cap, and the result will most like be only minimally alcoholic. (Commercial ginger beers are said to be around just 0.5 percent ABV, so they are not required to list alcohol as an ingredient.) If you want to minimize the alcohol content, bottle sooner; let it go longer for a higher ABV.
Carbonation
Once the brew is ready — this is determined by tasting — transfer it to bottles. Continued fermentation in the bottle produces the carbonation. It’s very unlikely that your starter has capped out, but in that case carbonation could be started back up through the addition of a pinch of sugar.
Sandor Ellix Katz writes in The Art of Fermentation, “active ferments sealed in bottles when they still have significant sugar to fuel continued fermentation can explode like bombs, with disfiguring and live-threatening results.” Consider yourself warned. Even if you were not in the line of fire when such an explosion happened, at the very least you would have a hell of a mess of broken glass and ginger beer to clean up, so take pains to avoid this. (Hence carboys.)
At this stage you have a couple of choices. Well, three, if you include using bottles that run the risk of exploding, but I think we can agree that it is sensible to eliminate that unnecessary risk.
- Funnel into plastic bottles. Worst that can happen is you forget about them and pop a cap. Still, glass probably gives better flavor.
- Funnel into flip-top (Grolsch style) bottles or other bottles intended to hold fermented beverages (such as prosecco bottles, properly capped). I like these amber 16-ounce Grolsch-style bottles. They come with replacement gaskets.
In funneling I have variously used cheesecloth, a gold coffee filter, and paper coffee filters, in combination with the funnel strainer. The first two are the best choices, as sensitive tasters are said to be able to detect the effect of the paper filters.
Even with the Grolsch bottles, it’s a good idea to do at least one plastic bottle. The point at which the plastic stops giving when squeezed is probably where you want the carbonation (adjust to preference).
Once fermentation is where you like it, refrigerate. The fermentation will be arrested. Well, slowed considerably: best to pop the top occasionally if you leave it in the fridge for a long time.
Ginger beer is best drunk young. Straight up is a fine way to go. You can also use it in cocktails — with citrus added these were historically called bucks or mules — such as the Dark and Stormy (add rum to taste) and the Moscow Mule (a vodka buck). You might also try the drink that Kingsley Amis, that accomplished tippler, rhapsodized: ginger beer, gin, and lots of ice: he considered this an improvement to the gin and tonic. “I would name this one of the great long [tall] drinks of our time,” Amis wrote in Everyday Drinking, “almost worth playing a couple of hours’ cricket before imbibing.”
Almost. In any case, imbibe.
Update. This post includes affiliate links. When I wrote it I linked to Amazon. Today I might search for a different vendor (because Amazon).
